Recreating the Trendy Soap Nails: A Step-by-Step Guide
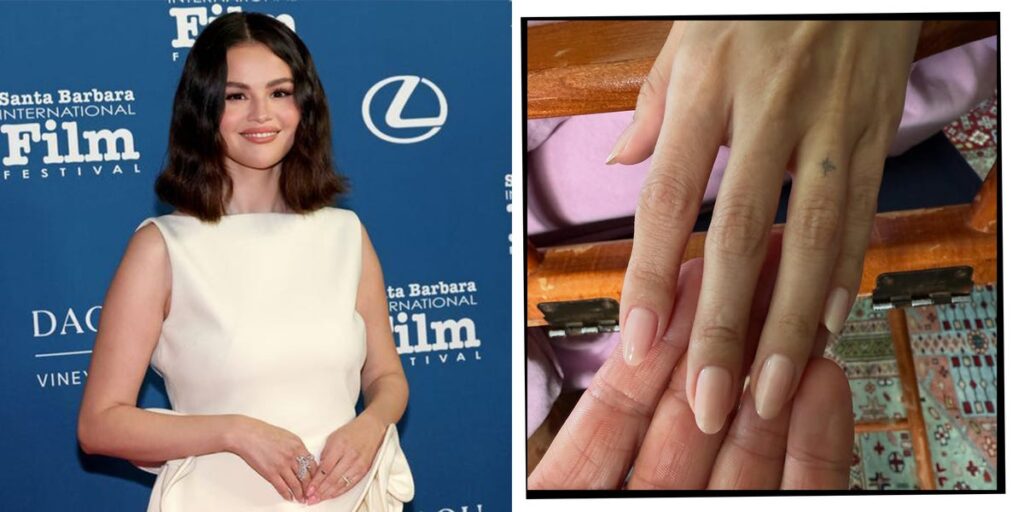
Soap nails have taken the nail art world by storm, and it’s easy to see why. This playful and creative nail design mimics the translucent, glossy look of a bar of soap, giving your nails a chic and trendy appearance. For anyone looking to spice up their manicure routine, here’s a guide on how to recreate soap nails at home while also personalizing them to suit your unique style.
Gather Your Supplies
To start, you’ll need to gather a few essential supplies. First, get your hands on some clear nail polish or gel. This will form the base for your soap nails. You might also want to choose a soft, pastel color palette for your nail polish. Soft pinks, blues, and lavender shades perfectly emulate the gentle, translucent look of soap. Additionally, you’ll need a nail file, a base coat, a top coat for shine, and optional nail art accessories like small rhinestones or glitter for added flair. Having these supplies ready will set the stage for a successful nail art session.
Prep Your Nails
Before diving into the actual nail art, proper nail preparation is essential. Start by cleaning your nails, removing any old polish, and pushing back your cuticles. This creates a clean slate for your new design. Once your nails are clean and tidy, apply a base coat to protect your natural nails and ensure that the polish adheres better. After it dries, you can proceed to paint your nails with the chosen pastel color. Don’t be afraid to experiment! You can opt for different colors on each nail or even use an ombre effect for a more modern twist.
Creating the Soap Effect
After your pastel base color has dried, it’s time to create that soap-like effect. Take your clear polish or gel and apply a thin layer over your colored nails. This layer should be even and smooth, giving your nails that glossy, semi-translucent look that soap nails are known for. For extra depth, you can apply a second coat after the first one dries. This step not only enhances the glossy finish but also helps to mimic the subtle shine of a bar of soap. Remember, the key is to keep the layers light and even, so the color underneath shows through beautifully.
Adding Personal Touches
Now that you have the basic soap nail look, it’s the perfect time to add your unique flair. Consider embellishing your nails with tiny rhinestones that mimic bubbles or adding delicate stickers for a whimsical touch. You can even use nail art brushes to create small artistic designs, like swirls or dots, that pop against the soap-like surface. This step is where you can let your creativity shine, transforming standard soap nails into a personalized masterpiece that reflects your style and personality.
Finishing Touches
Finally, let’s seal the deal! Once you’re satisfied with your nail art, apply a top coat to lock everything in place. This final layer adds a glossy finish that not only enhances the soap effect but also ensures your manicure lasts longer. It’s a good idea to give your nails some time to dry completely, so resist the urge to use your hands for a bit. Once they’re fully dried, you’ll be left with playful, eye-catching soap nails that are sure to turn heads and garner compliments.
Conclusion: Enjoy Your Beautiful Soap Nails!
With just a few steps and some creativity, you can easily recreate the soap nails trend right from the comfort of your own home. Whether you opt for a simple pastel look or elaborate designs with art accents, these fun nails are a fantastic way to express your individuality. Remember, the key to great nail art is patience and practice, so don’t hesitate to experiment until you find the perfect look that suits you. Enjoy showcasing your beautiful, glossy soap nails, and let your creativity flow!

