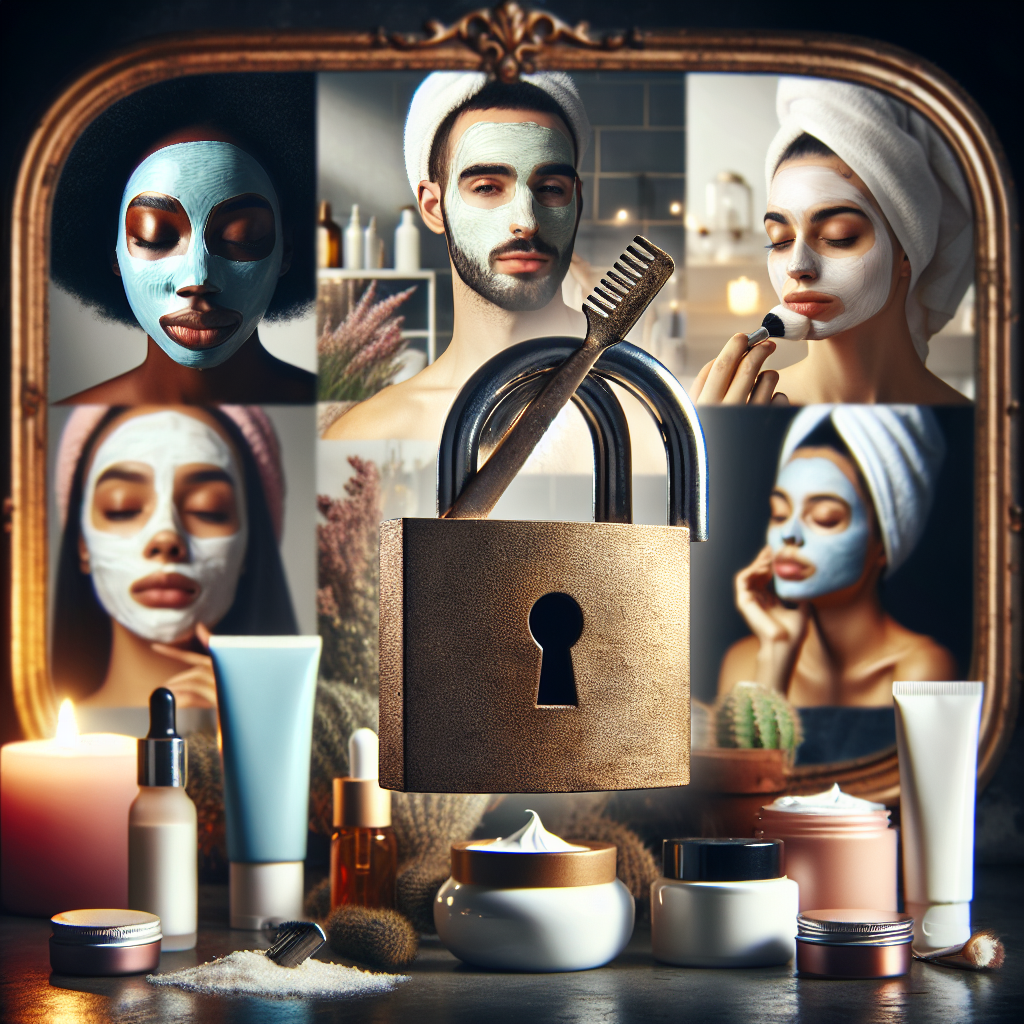
In today’s fast-paced world, the desire for radiant skin and self-care has never been greater. At-home facials provide an affordable and convenient way to indulge in skincare without the need for a salon visit. Here, we uncover the secrets to creating the perfect at-home facial, featuring tips from beauty gurus who know their skin science inside and out.
Understanding Your Skin Type
Before diving into DIY facials, it’s essential to understand your skin type. Beauty experts emphasize that tailoring your facial treatment to your skin’s unique needs is key to achieving the best results. Here’s a quick guide:
- Oily Skin: Look for clay-based masks to absorb excess oil.
- Dry Skin: Opt for creamy, hydrating masks that provide moisture.
- Combination Skin: Use different products on different areas; a light mask can help balance skin.
- Sensitive Skin: Choose fragrance-free, soothing formulas to reduce irritation.
Gathering Your Supplies
Creating an at-home facial requires some basic supplies. According to beauty experts, here’s what you should prepare:
- Gentle Cleanser
- Exfoliator (physical scrub or chemical exfoliant)
- Face Mask (choose based on your skin type)
- Moisturizer
- Facial Oils (optional)
- Tools (e.g., soft washcloth, cotton pads, and a bowl for mixing)
The Perfect Facial Routine
To get the most out of your at-home facial, follow these step-by-step instructions provided by leading beauty gurus:
Step 1: Prep Your Skin
Start with a clean canvas. Use a gentle cleanser to wash away impurities and makeup. Pat your face dry with a soft towel.
Step 2: Exfoliate
Exfoliating helps remove dead skin cells, making room for new, glowing skin. Choose an exfoliator suitable for your skin type and gently massage it onto your face in circular motions. Rinse thoroughly.
Step 3: Apply a Face Mask
Now it’s time for one of the most enjoyable parts of the facial: the mask. Apply a generous amount of your chosen mask evenly across your face. Make sure to avoid the eye area. Relax and let the mask work its magic for the recommended time.
Step 4: Rinse and Hydrate
Once the mask has set, rinse it off with warm water and pat your skin dry. Follow up with a hydrating moisturizer to lock in moisture. For an extra boost, consider applying a few drops of facial oil.
Enhancing Your Experience
Beauty gurus suggest creating a spa-like experience at home to maximize relaxation. Here are some tips to set the mood:
- Lighting: Dim the lights or use candles to create a calming environment.
- Music: Play soft music or nature sounds to enhance relaxation.
- Self-Massage: Incorporate a facial massage using your fingertips while applying products for added benefits.
Common Mistakes to Avoid
While at-home facials can be rewarding, it’s important to avoid common pitfalls:
- Over-exfoliating: This can irritate the skin, so stick to once a week.
- Ignoring Patch Tests: Always patch test new products to prevent allergic reactions.
- Not Following Up with Moisturizer: Hydrate your skin after treatments to maintain balance.
Conclusion
An at-home facial can be a transformative experience when done correctly. By understanding your skin type, following a structured routine, and creating a soothing atmosphere, you can unlock the secrets to glowing skin right from the comfort of your home. So gather your supplies, light some candles, and indulge in some well-deserved self-care!

