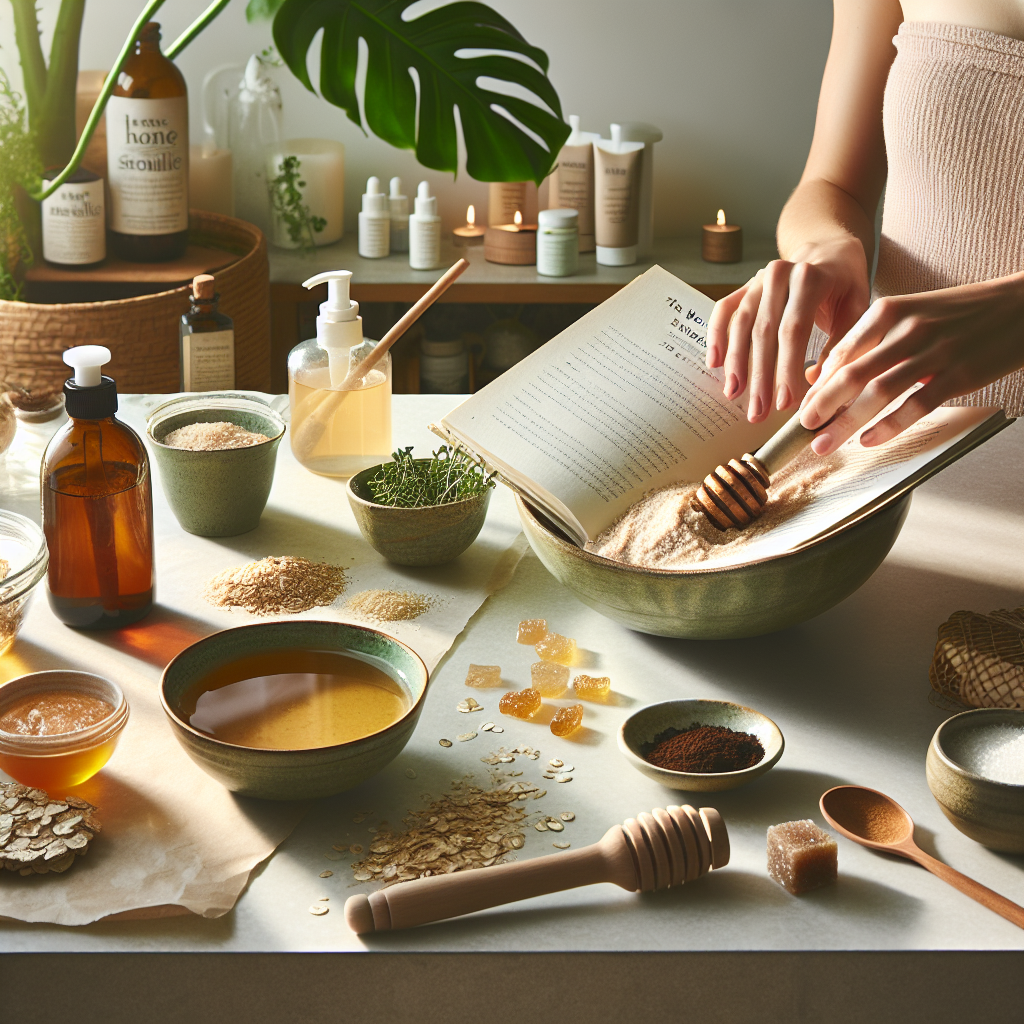
Exfoliation is an essential step in any skincare routine, as it helps to remove dead skin cells, unclog pores, and promote cell turnover. While there are countless commercial exfoliants available, making your own DIY exfoliants can be both cost-effective and tailored to your specific skin types. Here, we explore some of the best DIY exfoliants, along with expert tips to achieve smoother, glowing skin.
Why Exfoliate?
Regular exfoliation encourages the growth of new skin cells and improves the overall texture of your skin. It can reduce the appearance of fine lines, enhance radiance, and help your skincare products absorb better. However, over-exfoliating can lead to irritation, so it’s important to find a balance suitable for your skin type.
Types of Exfoliants
- Physical Exfoliants: These contain small particles that manually scrub away dead skin cells.
- Chemical Exfoliants: These use acids like AHAs (alpha hydroxy acids) and BHAs (beta hydroxy acids) to dissolve dead skin cells and unclog pores.
Best DIY Physical Exfoliants
1. Sugar Scrub
Sugar scrubs are simple, effective, and suitable for most skin types. Sugar’s granules gently remove dead skin without causing irritation.
Ingredients:

- 1 cup granulated sugar

- 1/2 cup coconut oil (or olive oil)

- A few drops of essential oil (optional)
Instructions:

1. Mix the sugar and oil in a bowl until well combined.

2. Add essential oil if desired for fragrance.

3. Gently massage onto damp skin in circular motions, then rinse with warm water.
2. Coffee Grounds Scrub
Coffee grounds are not only great for waking you up in the morning, but they also work wonders on your skin, thanks to their anti-inflammatory properties.
Ingredients:

- 1 cup used coffee grounds

- 1/2 cup coconut oil

- 1 teaspoon vanilla extract (optional)
Instructions:

1. Combine the ingredients in a bowl.

2. Apply to damp skin and exfoliate in circular motions.

3. Rinse thoroughly.
3. Oatmeal Scrub
Oatmeal is an excellent choice for sensitive skin as it calms irritation while gently exfoliating.
Ingredients:

- 1 cup rolled oats

- 1/2 cup honey

- 1/2 cup yogurt
Instructions:

1. Grind the oats into a fine powder using a blender or food processor.

2. Mix the ground oats with honey and yogurt to form a paste.

3. Apply to the skin and gently massage for 5-10 minutes before rinsing off.
Best DIY Chemical Exfoliants
1. Lemon and Baking Soda Scrub
This scrub takes advantage of lemon’s natural acids and baking soda’s gentle abrasiveness to exfoliate the skin.
Ingredients:

- 1 tablespoon lemon juice

- 1 tablespoon baking soda
Instructions:

1. Combine the lemon juice and baking soda to create a paste.

2. Apply to clean, dry skin and leave on for 5 minutes.

3. Rinse well with warm water.
2. Apple Cider Vinegar Toner
Apple cider vinegar acts as a fantastic chemical exfoliant, helping to remove dead skin cells and balance skin’s pH.
Ingredients:

- 1 part apple cider vinegar

- 2 parts water
Instructions:

1. Mix apple cider vinegar with water in a spray bottle.

2. After cleansing, spritz the mixture onto your skin or apply using a cotton pad.

3. Leave it on for a few minutes before rinsing off. Use a couple of times a week.
Expert Tips for Successful Exfoliation
- Patch Test: Always perform a patch test on a small area of skin before trying a new exfoliant to ensure you don’t have an adverse reaction.
- Frequency: Exfoliate 1 to 3 times a week, depending on your skin type. Sensitive skin may require less frequent exfoliation.
- Follow Up with Moisturizer: After exfoliating, apply a good moisturizer to hydrate and soothe your skin.
- Sun Protection: Exfoliating can make your skin more sensitive to the sun, so always follow up with sunscreen if you are going out during the day.
Conclusion
Making your own DIY exfoliants can be a fun and rewarding way to enhance your skincare routine. By choosing natural ingredients, you can tailor these recipes to your skin’s unique needs. Remember to exfoliate responsibly, listen to your skin, and enjoy the journey to smoother, healthier skin!

