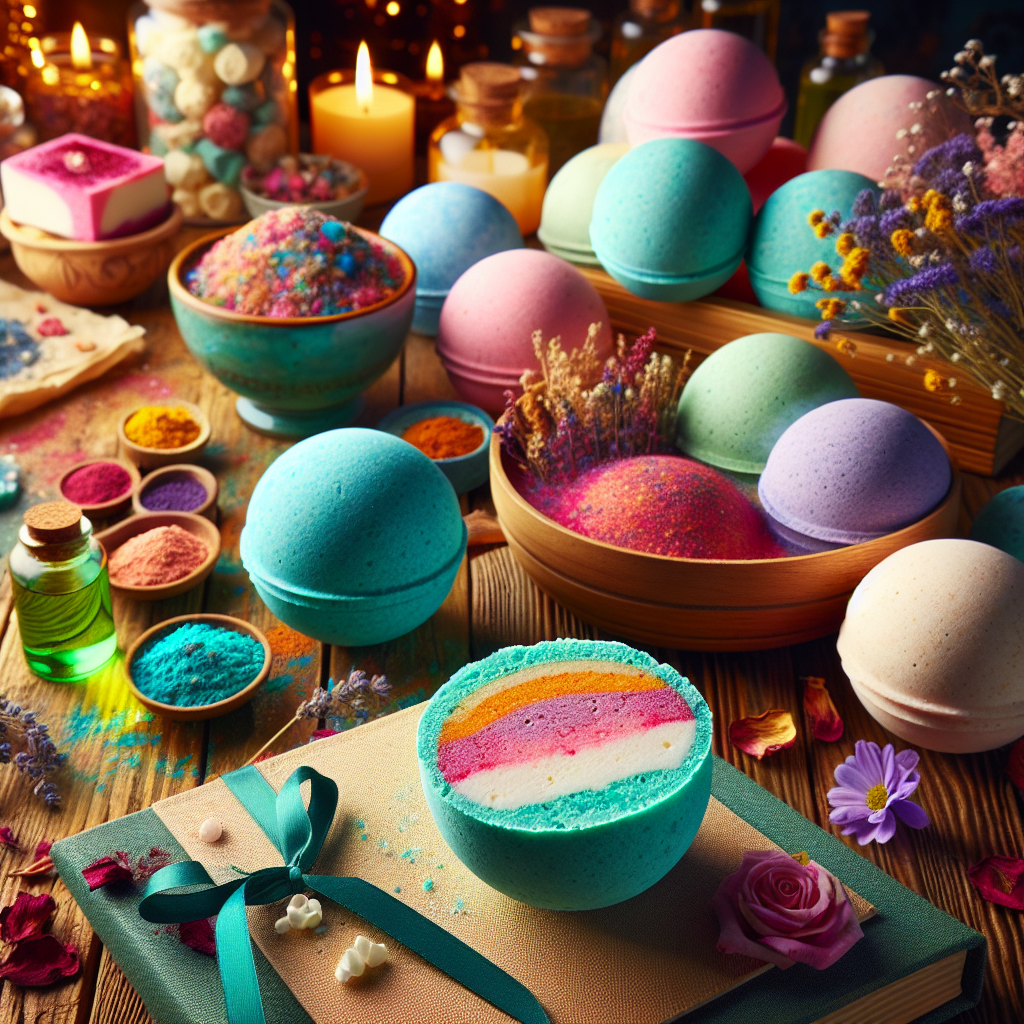
Bath bombs have taken the wellness world by storm, and for good reason. These delightful little spheres fizz and dissolve in water, releasing a cascade of colors, scents, and skin-nourishing ingredients. While many are available for purchase, creating your own DIY bath bombs allows you to customize your experience to suit your preferences. This article explores the benefits of DIY bath bombs and offers expert tips to make your bath time truly luxurious.
The Advantages of Making Your Own Bath Bombs
1. Customization
One of the primary benefits of making your own bath bombs is the ability to customize them according to your tastes. You can choose your favorite essential oils, colors, and shapes. Want a lavender-scented bomb for relaxation? Or maybe a citrus blend for an energizing soak? The choice is entirely yours!
2. Quality Control
When you make your own bath bombs, you have control over the ingredients used. Many commercial products contain synthetic fragrances and questionable additives. By crafting your own, you can ensure that each ingredient is safe, natural, and beneficial for your skin.
3. Cost-Effectiveness
Making bath bombs at home can be significantly more economical than purchasing them from stores. You can buy ingredients in bulk, and one batch can yield multiple bath bombs, saving you money in the long run.
4. Eco-Friendly
Homemade bath bombs can be more eco-friendly than store-bought options. You can use organic ingredients and avoid plastic packaging. Additionally, many commercial bath bombs come in non-recyclable materials, whereas DIY versions can be packaged in reusable containers.
Expert Tips for Crafting Luxurious Bath Bombs
1. Utilize High-Quality Ingredients
Invest in high-quality essential oils, natural colors, and skin-loving additives like Epsom salt, coconut oil, or oatmeal. These ingredients not only enhance the bath experience but can also nourish your skin.
2. Experiment with Scents
Don’t hesitate to experiment with different essential oil blends. Some popular combinations include lavender and chamomile for relaxation or eucalyptus and peppermint for a refreshing soak. Always start with a small batch to find your perfect combination.
3. Perfecting the Mixture
The consistency of your mixture is crucial. Ensure your dry ingredients are well-mixed before adding any wet ingredients. A little moisture is necessary for the fizzing reaction, but too much can cause your bath bombs to clump and lose their shape. The mixture should hold together when squeezed but should not be overly wet.
4. Mold with Care
Using molds is essential for shaping your bath bombs. You can buy specific molds or use muffin tins, silicone molds, or even plastic ornaments. Pack the mixture tightly, and allow your bath bombs to dry for at least 24 hours before removing them from the molds for the best results.
5. Add a Personal Touch
Consider adding unique elements like dried flowers, herbs, or glitter for a special touch. Not only do these ingredients enhance the look of your bath bombs, but they can also add additional benefits, such as soothing properties from dried herbs.
Conclusion
DIY bath bombs are an enjoyable and rewarding project that offers numerous benefits. From customization to cost savings and environmental considerations, making your own bath bombs can elevate your bathing experience. With the expert tips provided, you can create a luxurious soak tailored specifically to your needs and preferences. So gather your ingredients, unleash your creativity, and transform your bath time into a spa-like experience!

