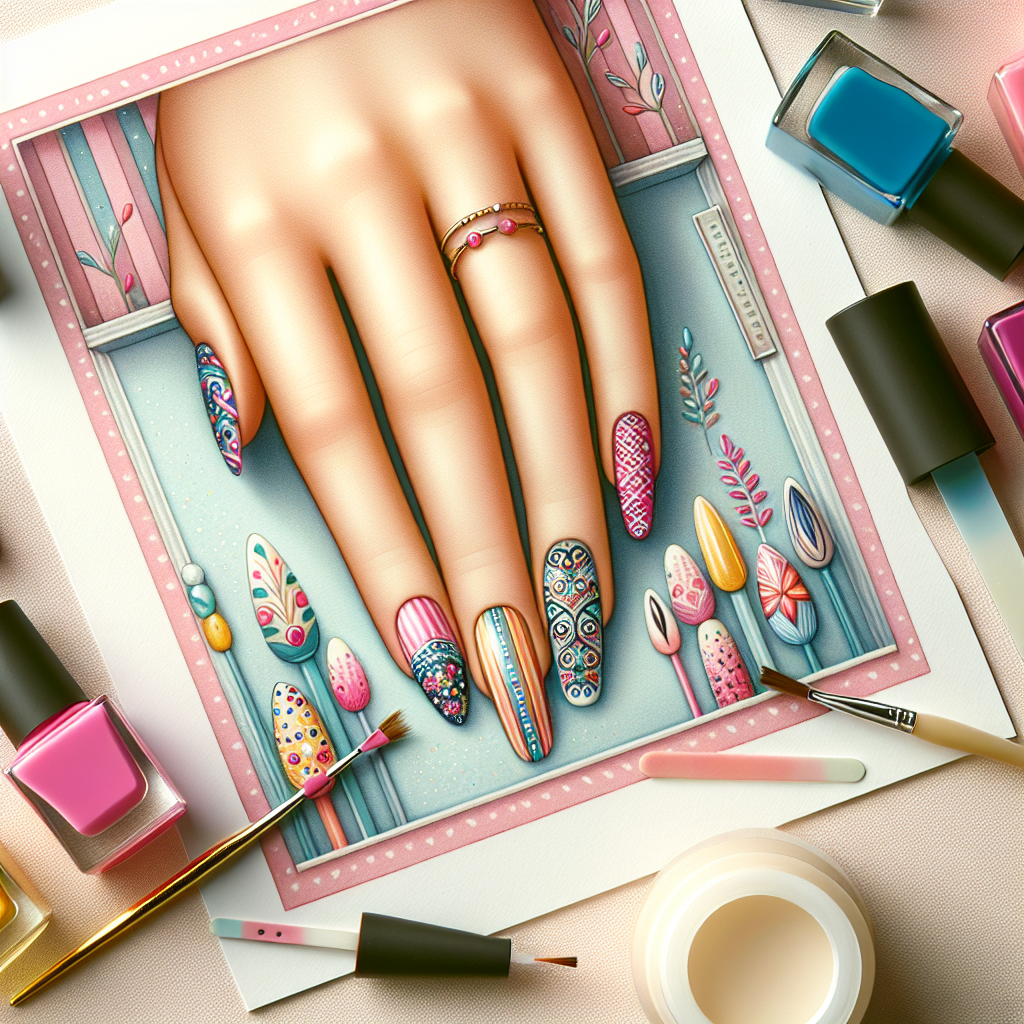
Nail art has surged in popularity, transforming simple manicures into elaborate expressions of creativity and personal style. With a few tools and techniques, you can achieve stunning DIY manicures right at home. In this article, we’ll share expert tips to help you create gorgeous nail art that showcases your personality while saving you a trip to the salon.
Gather Your Supplies
Before diving into the world of nail art, gather all the necessary supplies. Here’s a checklist to set you up for success:
- Nail polish (base coat, top coat, and various colors)
- Nail art tools (striping brushes, dotting tools, and sponges)
- Liquid latex or tape for clean lines
- Nail file and buffer
- Acetone and cotton pads for cleanup
- Optional: Nail art stickers and stamping plates
Prep Your Nails
Preparation is key to any successful manicure. Ensure your nails are clean, dry, and in good shape by following these steps:
- Remove any old nail polish using acetone.
- File your nails to your desired shape—whether you prefer square, round, or oval.
- Buff the surface of your nails to smooth out any ridges.
- Push back your cuticles gently using a cuticle pusher.
- Apply a base coat to protect your nails and help polish adhere better.
Get Creative with Color and Design
Now comes the fun part—applying color and personalizing your nails! Here are some design ideas to try:
1. Ombre Effect
Create a beautiful ombre effect by using a makeup sponge. Paint two colors side by side on the sponge, then dab it onto your nails for a gradient look.
2. Geometric Patterns
Use striping tape to create clean geometric designs. Stick the tape onto your nails in your desired pattern, paint over it, then remove the tape once dry for a polished finish.
3. Polka Dots
With a dotting tool or a bobby pin, create playful polka dots in various colors. This simple design adds a cute touch to any manicure.
4. Floral Art
Use a fine brush to paint delicate flowers or leaves on your nails for a fresh and feminine look.
Finishing Touches
Once you’re satisfied with your designs, it’s time to seal and finish your manicure:
- Let the colored polish dry completely before applying a top coat to enhance shine and longevity.
- Use liquid latex or tape around your nails to prevent polish from smudging onto your skin.
- Clean up edges using a small brush dipped in acetone.
Maintenance and Care
To keep your nails looking fresh and beautiful, follow these maintenance tips:
- Moisturize your hands and cuticles daily to prevent dryness.
- Apply a fresh layer of top coat every few days for added shine and durability.
- Resist the urge to pick at or peel off your polish, as it can damage your nails.
Conclusion
Creating stunning nail art at home is not only a fun activity but also a great way to express yourself. With a little creativity and practice, you can develop your skills and try out new designs. Remember, the most important part of nail art is to have fun and enjoy the process. Now, grab your supplies and let your creativity shine!

