


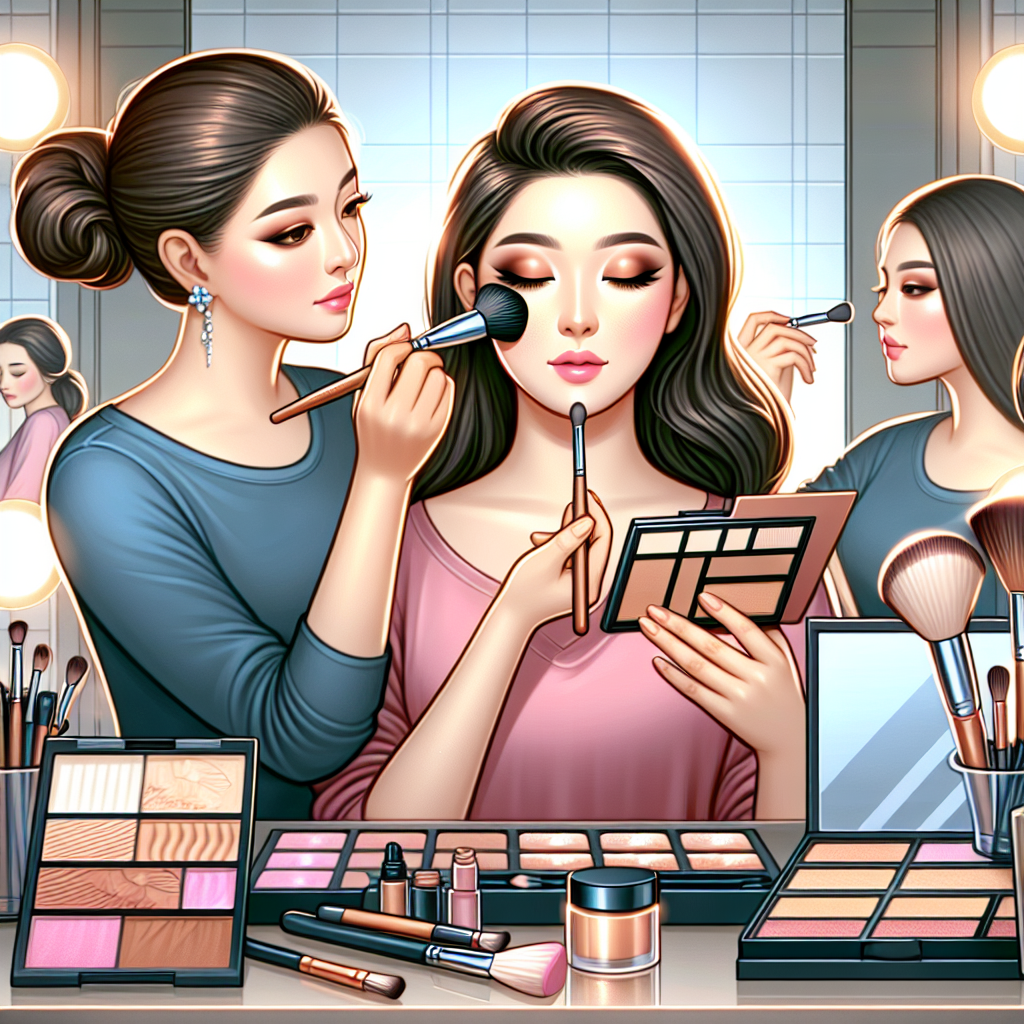
Highlighters are not just for books; in the world of beauty, they are essential for achieving that radiant glow. This article will guide you through expert techniques to illuminate your features, enhance your natural beauty, and leave you looking effortlessly radiant.
Understanding Your Face Shape
Before diving into highlighter techniques, it’s crucial to understand your face shape. Different shapes—oval, round, square, heart, and diamond—benefit from specific highlighting strategies that accentuate your unique features.
Oval Face
If you have an oval face, the goal is to enhance your naturally balanced proportions. Apply highlighter to the cheekbones, brow bone, and a touch on the chin for a soft glow.
Round Face
For round faces, highlighter can create the illusion of a longer face. Focus on the tops of your cheekbones and temples, extending the highlighter towards the ears.
Square Face
To soften the angular features of a square face, highlight the cheekbones and the center of the forehead, blending smoothly for a harmonious look.
Choosing Your Highlighter
Selecting the right highlighter is essential for achieving that perfect glow. Here are some options:
- Powder Highlighters: Ideal for oily skin types, they provide a subtle, matte finish.
- Liquid Highlighters: Great for a dewy look and suitable for dry skin.
- Cream Highlighters: Offer a soft, blendable texture that suits all skin types.
- Stick Highlighters: Convenient and portable, perfect for on-the-go touch-ups.
Application Techniques
Now that you have your highlighter, let’s explore some application techniques to maximize its effect.
The “C” Method
Using your finger or a brush, apply highlighter in a “C” shape from the top of your cheekbone, around the brow bone, and down to the temple. This technique highlights the natural curve of your face.
Highlighting the Nose
For a more defined nose, apply highlighter down the bridge of your nose and a dot on the tip. Be gentle to avoid a shiny effect that can appear unnatural.
Brow Highlighting
Highlighting under the brow arch can lift your eyes and make them appear larger. Use a small brush for precision, applying just a small amount of highlighter.
Blending is Key
Regardless of the method you use, blending is crucial. Use a damp beauty sponge or a stippling brush to seamlessly blend your highlighter into your skin for a natural look.
Setting the Look
After highlighting, set your makeup with a fine mist setting spray. This will ensure your glowing features last all day.
Conclusion
Mastering the art of highlighting can elevate your makeup routine and enhance your features beautifully. By understanding your face shape, selecting the right product, and applying it with finesse, you can achieve that coveted luminous look. Shine on!


