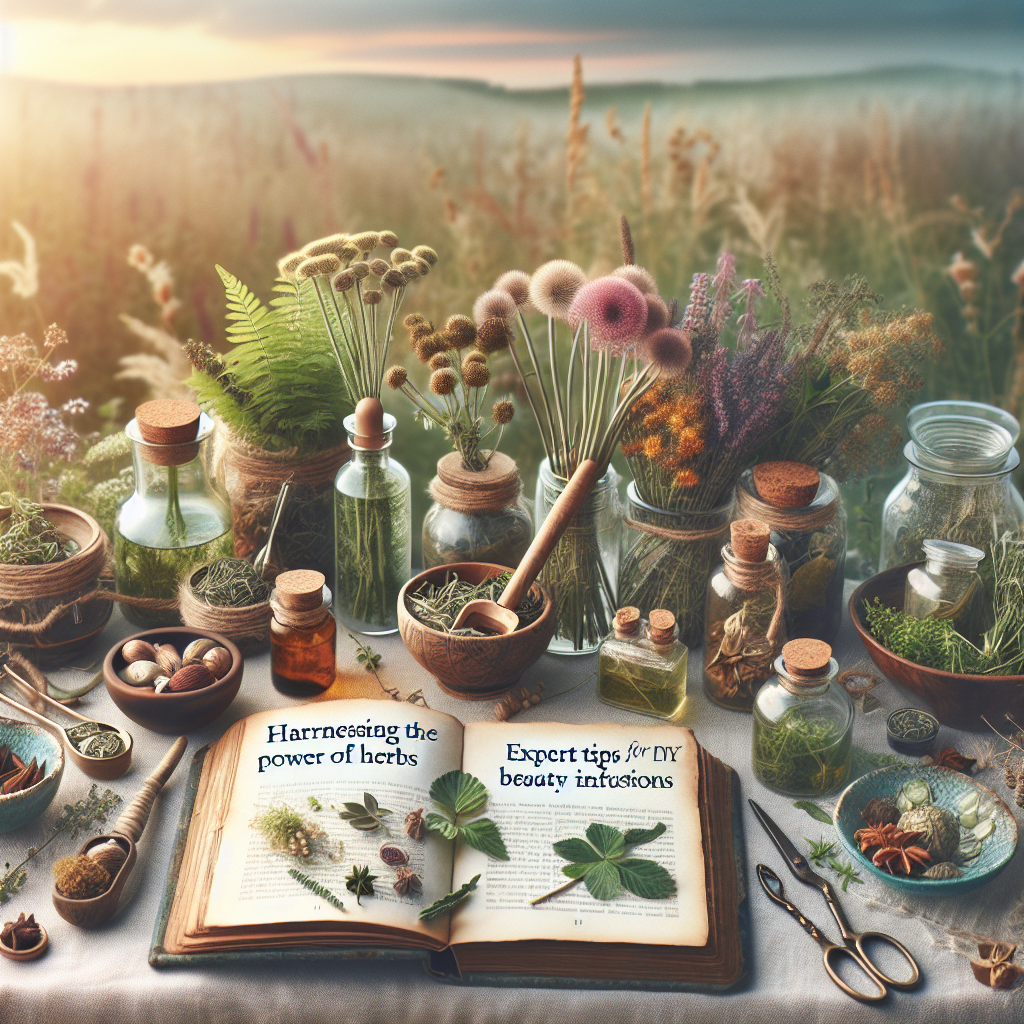
In a world where natural beauty remedies are becoming increasingly popular, harnessing the power of herbs for skincare can be a game-changer. With numerous benefits ranging from nourishing properties to soothing effects, herbs are a valuable addition to your beauty routine. This article provides expert tips on creating your own beauty infusions at home using simple herbs.
The Benefits of Herbal Infusions
Herbal infusions are not only a delightful way to enhance your beauty regimen, but they also provide a wealth of benefits:
- Natural Ingredients: Unlike commercial products, herbal infusions are made from natural ingredients, reducing the risk of harmful side effects.
- Customizable: You can tailor your infusions to your specific skin type and concerns, whether it’s dryness, sensitivity, or aging.
- Cost-Effective: Making your own beauty products can save you money while providing high-quality ingredients.
Essential Herbs for Beauty Infusions
When selecting herbs for your beauty infusions, consider the following:
- Chamomile: Known for its calming properties, chamomile is perfect for soothing irritated skin.
- Lavender: With its antiseptic and anti-inflammatory qualities, lavender is excellent for acne-prone skin.
- Rosemary: This herb is known to promote healthy hair growth and add shine while combating dandruff.
- Peppermint: Refreshing and invigorating, peppermint can rejuvenate tired skin and provide a cooling effect.
- Calendula: Ideal for healing and calming, calendula is perfect for sensitive or damaged skin.
Expert Tips for Creating Your DIY Beauty Infusions
1. Choosing the Right Base
The first step is to select a base for your infusion. Common options include:
- Carrier Oils: Oils like coconut, jojoba, or sweet almond oil are excellent for infusing herbs.
- Water: Infusing herbs in water can create herbal teas or toners that can be used directly on the skin.
- Witch Hazel: Known for its astringent properties, witch hazel is great for oily or acne-prone skin.
2. Harvesting and Preparing Herbs
Fresh herbs are best for infusions, but dried herbs can also work. Here’s how to prepare them:
- Rinse fresh herbs under cold water to remove dirt and debris.
- Chop or bruise the herbs to release their essential oils effectively.
3. Infusion Methods
There are several methods to infuse herbs, including:
- Cold Infusion: Place the herbs in your chosen base and let sit for 24-48 hours in a cool, dark place.
- Hot Infusion: Gently heat the base with herbs on low heat for 1-2 hours, ensuring it does not boil.
- Double Boiler Method: Use a double boiler for a more controlled infusion process, particularly when using oils.
4. Straining and Storing Your Infusions
After your herbs have infused, strain the mixture through a fine mesh strainer or cheesecloth to remove solid particles. Store your infusions in a clean, airtight container, preferably in a dark bottle to protect from light.
5. Testing for Sensitivity
Before applying your herbal infusions to your skin, perform a patch test. Apply a small amount to a discreet area to check for any allergic reactions.
Incorporating Infusions into Your Routine
Now that you have created your herbal beauty infusion, consider incorporating it into your routine:
- Use it as a facial toner after cleansing to tighten pores and refresh your skin.
- Apply it to your hair as a rinse for added shine and nourishment.
- Mix it into your lotion or body cream for enhanced moisturizing properties.
Conclusion
Harnessing the power of herbs for DIY beauty infusions is not only a rewarding experience but also a step towards more natural skincare. With the right herbs and methods, you can create personalized beauty products that cater to your specific needs. Embrace the art of herbal infusion and enjoy the journey to healthier, more radiant skin!

