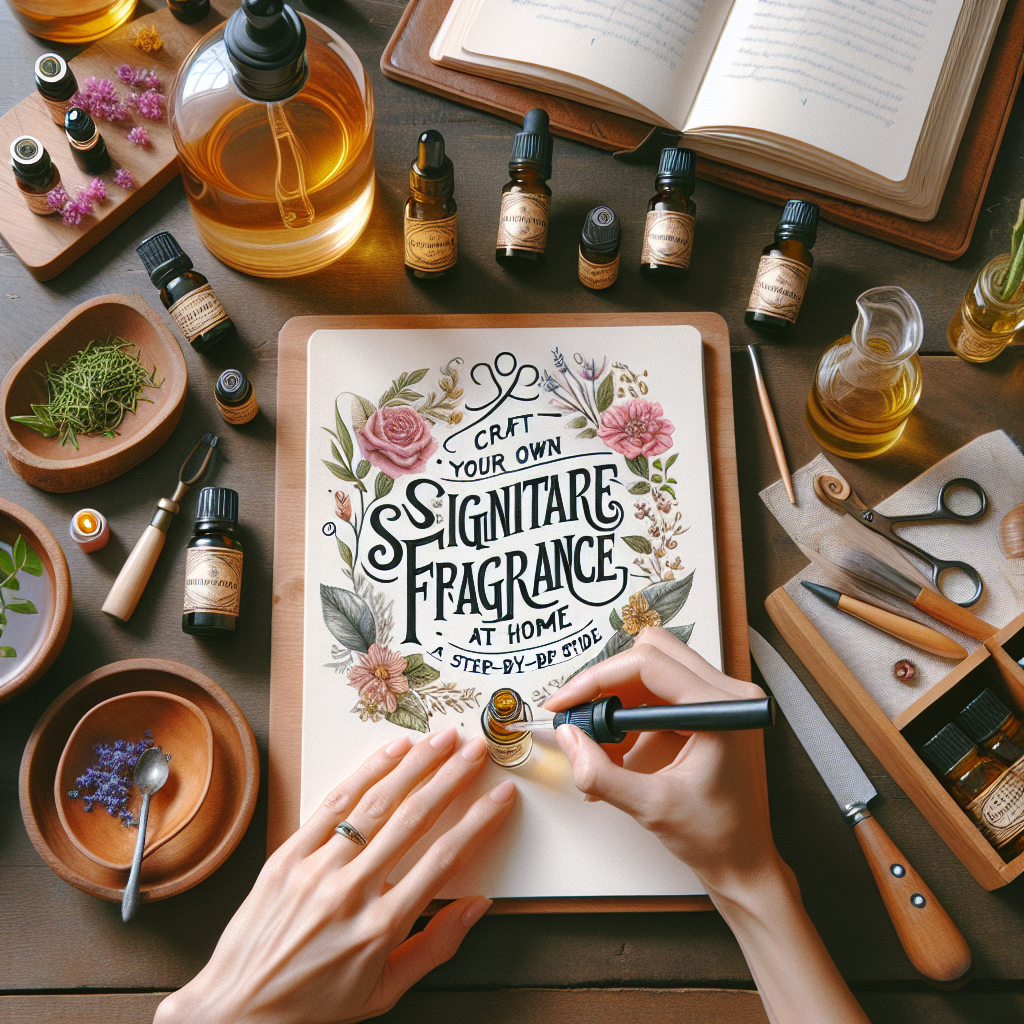
There’s something immensely personal about a signature fragrance. It’s a unique olfactory mark that reflects your personality and style. Commercial perfumes, while appealing, can often be expensive and lack that personal touch. Why not create your own at home? This guide will take you through the process of designing your own bespoke scent, right in the comfort of your kitchen. Let’s dive in!
1. Understand the Basics of Fragrance
Before you start mixing, it’s crucial to understand the composition of fragrances. Perfumes are typically made up of three layers:
- Top Notes: The first impression of your fragrance. These are light and evaporate quickly (examples include citrus and herbal scents).
- Middle Notes: The core of the fragrance, which emerges after the top notes dissipate. These usually consist of floral and fruity scents.
- Base Notes: These provide depth and longevity to your fragrance, lingering long after the other notes fade (examples include woods, musk, and vanilla).
2. Gather Your Materials
Now that you understand the structure of fragrances, it’s time to gather the materials:
- Essential Oils: Select a variety of oils representing each note category. Aim for a balanced mix of top, middle, and base notes.
- Carrier Oil: A neutral oil to dilute your essential oils, such as jojoba oil or sweet almond oil.
- Alcohol: Ethanol or perfumer’s alcohol for creating a spray fragrance.
- Dark Glass Bottles: For storing your finished fragrance to protect it from light.
- Pipettes and Droppers: For precise measurements.
- Notebook: To jot down your experiments and notes.
3. Design Your Fragrance
Start by choosing your essential oils. You can experiment with combinations, but a good rule of thumb is:
- 30% Top Notes
- 50% Middle Notes
- 20% Base Notes
Begin by adding a few drops of your chosen oils into a small glass container. Remember to smell after each addition to ensure the blend aligns with your vision.
4. Test Your Blend
After blending your oils, it’s time to test your fragrance. Apply a small amount to your wrist and let it sit for a few hours to see how it develops. This step is essential; a fragrance changes over time, revealing different facets as it interacts with your skin chemistry.
5. Final Adjustments
If you feel the fragrance needs tweaking, now is the time to make adjustments. You can add more of a certain note or remove some until you’re satisfied. Keep track of the changes you make in your notebook for future reference.
6. Dilute Your Fragrance
Once you’re happy with your blend, it’s time to dilute it. If you’re using alcohol, mix your concentrated blend with alcohol in a 1:4 ratio (1 part fragrance to 4 parts alcohol). For a roll-on, mix your essential oils with a carrier oil at the same ratio. Shake the bottle gently to combine.
7. Let It Mature
To achieve the best results, let your fragrance sit for a week or two in a cool, dark place. This maturation period allows the scents to meld and evolve, resulting in a more sophisticated final product.
8. Package and Present Your Fragrance
Once matured, transfer your fragrance into a beautiful dark glass bottle. To make it even more special, consider labeling it with a creative name and the date it was made. You can also decorate the bottle for gifting!
Conclusion
Creating your own signature fragrance at home can be an enjoyable and rewarding experience. Not only do you get to express your individuality, but you may also discover a new hobby. Remember, the beauty of crafting your own scent lies in the freedom to experiment, so have fun and let your creativity bloom!

