


Contouring has become an essential makeup technique for enhancing facial features and creating a sculpted look. Whether you’re a makeup novice or a seasoned artist, mastering the art of contouring can elevate your beauty game. In this article, we will delve into the essentials of face contouring, including the tools you’ll need, techniques to consider, and application tips to achieve that flawless look.
Understanding Contouring
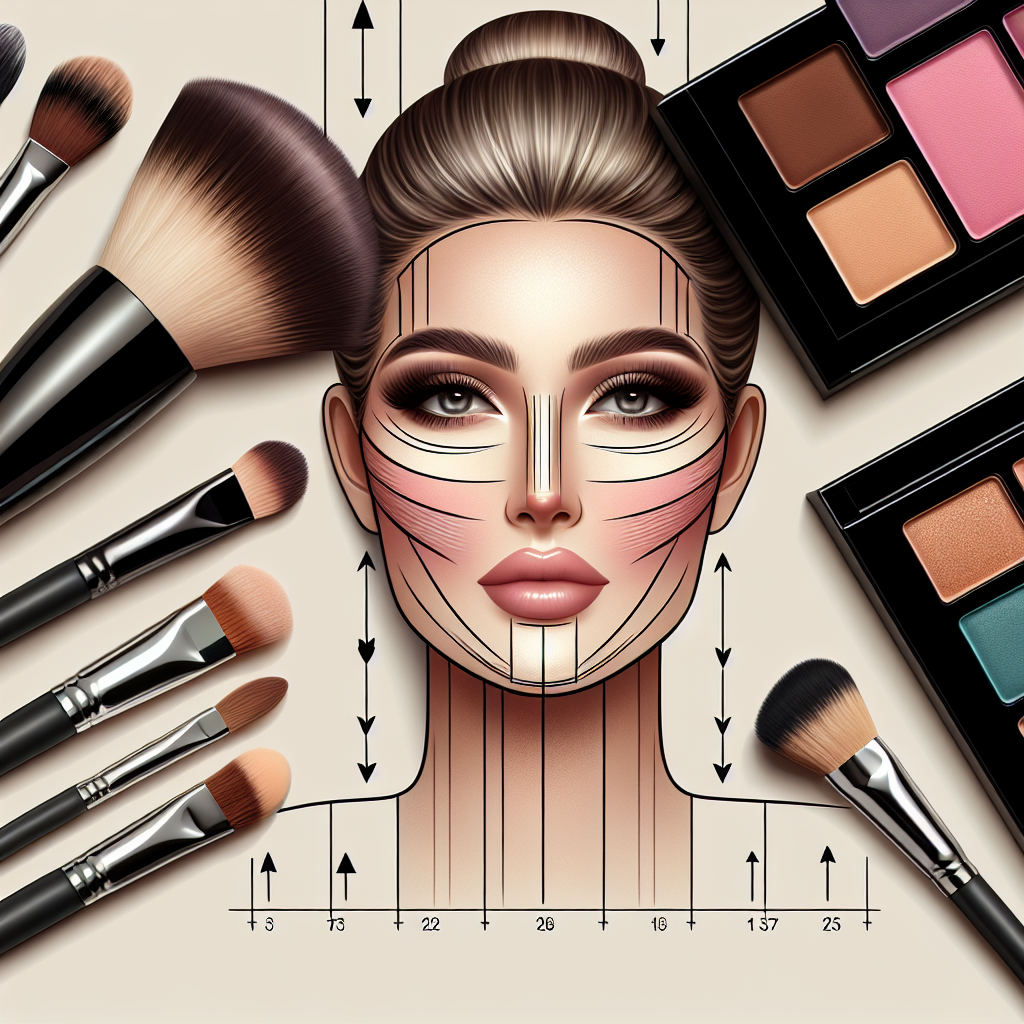
Contouring involves using makeup to define, enhance, and shape the face. By strategically applying darker and lighter shades, you can create the illusion of high cheekbones, a slimmer nose, and a more defined jawline. Understanding the basics of light and shadow is crucial for achieving an effective contour.
Tools You’ll Need
Before diving into the contouring technique, gather the necessary tools:
1. Makeup Brushes
- Flat Contour Brush: For applying contour in precise areas.
- Duo Fiber Brush: Great for blending the contour for a seamless finish.
- Highlighting Brush: For applying highlighter on the high points of your face.
2. Contour Products
- Cream Contour: Ideal for a more natural finish and easier blending.
- Powder Contour: Suitable for a matte look and longer-lasting wear.
- Highlighter: Choose a shade that complements your skin tone, whether it’s cream, powder, or liquid.
Finding Your Face Shape
Identifying your face shape is crucial for contouring. The most common shapes include:
- Oval: Balanced features; contouring is light.
- Round: Focus on defining the jawline and temples.
- Square: Soften sharp angles with contour on the jaw and temples.
- Heart: Contour the forehead and chin to balance the wider upper face.
- Long: Add width to the sides of the face while highlighting the chin.
Contouring Techniques
Once you have the right tools and understand your face shape, follow these techniques:
1. Mapping Your Face
Using a contour stick or cream, map out areas where you want to create shadows:
- Jawline: Apply contour along the jawline for definition.
- Cheekbones: Apply contour in the hollows of your cheeks.
- Nose: Contour the sides of your nose for a slimmer appearance.
- Forehead: A little contour at the hairline can create an illusion of a smaller forehead.
2. Blending
Blending is key to a natural look. Use your duo fiber brush or a makeup sponge to blend the contour into your skin. Start with gentle strokes, gradually building up intensity where necessary.
3. Highlighting
Apply highlighter to the high points of your face:
- Cheekbones
- Bridge of the Nose
- Cupid’s Bow
- Brow Bone
- Forehead Center
This will create dimension and bring attention to these features.
Common Mistakes to Avoid
To achieve the best contour, be mindful of these common mistakes:
- Using the Wrong Shade: Choose a contour that is 1-2 shades darker than your foundation.
- Heavy Application: Less is more. Build up product gradually.
- Neglecting to Blend: Harsh lines can ruin your look; always blend thoroughly.
Conclusion
Contouring is an art that requires practice and patience. By understanding the techniques, choosing the right products, and avoiding common mistakes, you can sculpt your face like a pro. Embrace your unique features and enhance them with contouring—there’s no limit to the looks you can achieve!


