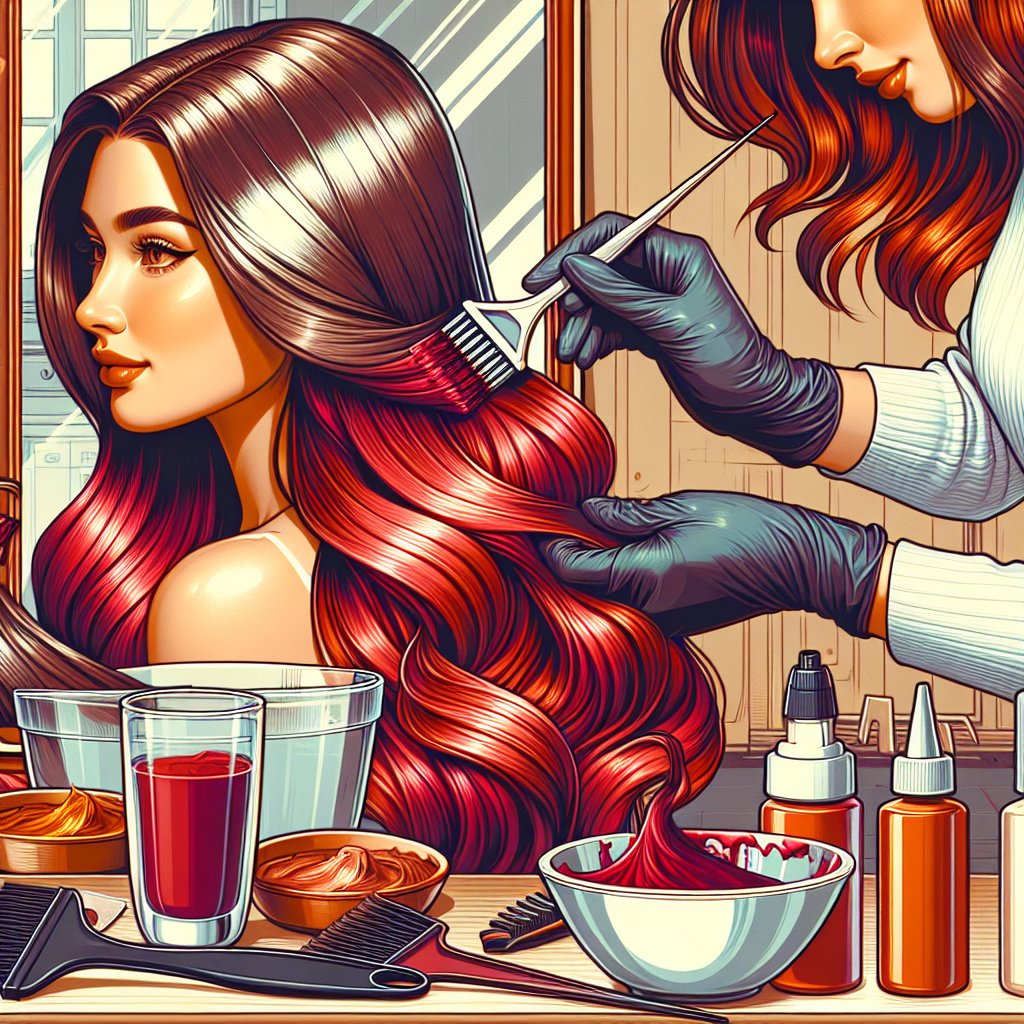
At-home hair coloring has become increasingly popular, offering both convenience and affordability. With the right techniques and a little know-how, you can achieve salon-quality results without stepping foot outside your home. Whether you’re looking to cover gray roots or completely transform your hair color, here are expert tips for a flawless DIY application.
1. Choose the Right Shade
Before you begin, selecting the right shade is crucial. Consider your natural hair color, skin tone, and the look you want to achieve. Hair color tends to look darker on the box than it will on your hair, so if you’re unsure, opt for a shade that is one or two tones lighter than what you initially desire.
2. Prepare Your Hair
To achieve the best results, start with clean, dry hair. Avoid shampooing the night before you color; natural oils help protect your scalp during the process. If your hair is dirty or overly oily, you might need to wash it just before application.
3. Gather Your Tools
To make the process smooth and effective, gather the following tools:
- Hair color kit (includes gloves and applicator)
- Hair clips for sectioning
- Old towels to prevent stains
- Comb for even distribution
- Timer to track coloring time
4. Conduct a Patch Test
To avoid allergic reactions, always perform a patch test at least 48 hours before applying the dye. Follow the instructions on the package, applying a small amount of color to a discreet section of skin. If there’s no reaction after 48 hours, you’re good to go!
5. Section Your Hair
Divide your hair into four sections (two at the front and two at the back) and secure them with clips. This will make it easier to apply the color evenly and ensure that every strand is covered.
6. Application Techniques
When you’re ready to start applying the dye, follow these steps for the best results:
- Start with the roots: Apply the dye directly to the roots first, as this area tends to develop color more quickly.
- Use a comb: After applying to the roots, use a comb to distribute the dye evenly throughout the section.
- Work your way down: Move to the mid-lengths and ends of the hair, ensuring that you apply enough product to saturate all strands.
7. Timing is Everything
Follow the instructions on the package regarding development time. Setting a timer will help you avoid over-processing your hair, which can lead to damage and unwanted results. If you’re uncertain, err on the side of caution and rinse a few minutes early.
8. Rinsing and Conditioning
Once the time is up, rinse your hair under lukewarm water until the water runs clear. Follow up with the conditioner included in the dye kit or a deep conditioning treatment to nourish your freshly colored hair.
9. Post-Color Care
After coloring, it’s essential to maintain your hair’s health. Use color-safe shampoos and conditioners, and limit heat styling to keep your hair looking vibrant. Regular deep conditioning treatments can also help keep your hair hydrated and shiny.
10. When to Seek Professional Help
While at-home coloring can yield great results, some situations may call for professional assistance. If you’re attempting drastic color changes, going lighter than your natural color, or dealing with multiple colors, consult with a salon professional to avoid mishaps.
Conclusion
With these expert tips in mind, you can confidently take on at-home hair coloring. Remember that practice makes perfect, so if your first attempt doesn’t turn out as planned, don’t be discouraged. Each application teaches you more about what works best for your hair! Happy coloring!

